Lens Calibration
Lens calibration is important for accurate sky recognition and polar alignment. Astroid is initially calibrated at the factory but the calibration quality might degrade for various reason such as a strong shock caused by dropping the device.
If you feel eFinder alignment between the telescope and Astroid is not accurate, you can try to calibrate the lens using the lens calibration feature.
Requirements
Clear and open sky
Sky without light pollution and Moonlight
The calibration is using the location of the stars in the image. Make sure you perform the calibration at a place where Astroid can see the stars well. It is possible to perform the calibration without such conditions but the quality of the calibration is not guaranteed.
Calibration procedure
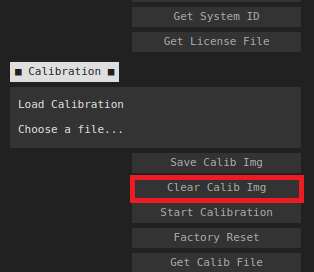
Clear any prior calibration images by clicking “Clear Calib Img” under “System Setting”->”Calibration”.
Mount your Astroid on a tripod and adjust the tripod head so that Astroid’s lens points upward. The ball head tripod is the best for this purpose but you can just put the device on a table.
Wait until the sky is recognized.
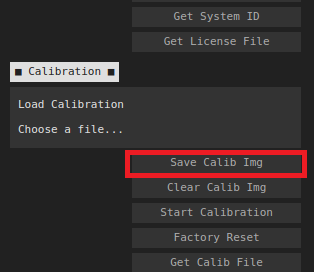
Once the sky is recognized go to the setting menu and press “Save Calib Img” to store the image.
Rotate the camera about 20 degrees and repeat 3~4.
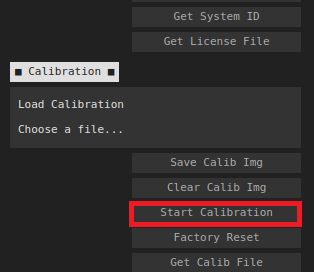
Take 20 pictures by repeating 3~5 and press “Start Calibration” button.
Wait until you see the calibration report message.
Realign the device to the telescope and see if the alignment is good.